
Are you tired of struggling to groom your dog on the floor or an unstable surface? Building your own dog grooming table could be the perfect solution.
Imagine having a sturdy, comfortable spot that makes grooming easier for both you and your furry friend. In this guide, you’ll discover simple steps to create a table tailored just for your needs. By the end, you’ll save money and enjoy stress-free grooming sessions.
Ready to get started? Let’s dive in!

Credit: meyer-sansboeuf.com
Choosing The Right Materials
Choosing the right materials is a key step in building a dog grooming table. Good materials make the table strong and safe. Poor choices can lead to problems like wobbling or damage. Spend time picking the best wood, tools, and hardware. This ensures your table lasts long and works well.
Selecting Wood Types
Wood is the main part of your grooming table. Choose wood that is strong and smooth. Pine is easy to work with and budget-friendly. Hardwood like oak or maple is very sturdy but costs more. Avoid soft woods that can dent or break easily. Make sure the wood is dry and free of cracks.
Essential Tools Needed
Having the right tools makes building easier. You need a saw to cut the wood. A drill helps with screws and holes. Sandpaper or a sander smooths rough edges. A measuring tape and pencil keep your cuts accurate. Clamps hold pieces steady while you work. These tools improve safety and precision.
Picking The Right Hardware
Hardware holds your table together. Use screws instead of nails for better strength. Choose stainless steel or coated screws to avoid rust. Hinges must be strong if your table folds. Add rubber feet to prevent slipping. Quality hardware keeps the table stable and safe for pets.
Credit: www.arloren.com
Designing Your Table
Designing your dog grooming table is a crucial step in the building process. The right design makes grooming easier and safer for both you and your dog. Focus on size, adjustability, and stability. These features create a functional and comfortable workspace.
Careful planning helps avoid common problems. A well-designed table fits your needs and your dog’s size. It holds your dog securely. It also supports all grooming tools.
Determining The Ideal Size
Choose a table size based on your dog’s breed and size. Small dogs need less space. Large dogs require more room to move comfortably. The table should allow you to reach all parts of the dog easily. A good rule is to add a few inches around your dog’s length and width. This extra space gives freedom to handle grooming tools safely.
Incorporating Adjustable Features
Adjustable height is important for comfort. It prevents back pain during long grooming sessions. Consider a table with legs that can extend or retract. Adjustable arm bars help hold dogs of different sizes. Make the grooming surface easy to clean and replace. These features make the table versatile and user-friendly.
Ensuring Stability And Safety
Stability stops the table from wobbling or tipping. Use strong materials for the frame and legs. Non-slip feet keep the table steady on smooth floors. A secure surface keeps dogs from slipping. Add safety straps or harnesses to keep dogs in place. Safety features protect both groomer and pet during grooming.
Step-by-step Assembly
Building a dog grooming table is easier than it seems. Follow these simple steps to create a sturdy and practical table. Each step focuses on a key part of the assembly. Take your time and enjoy the process.
Preparing The Wood Pieces
Start by selecting good quality wood. Cut the wood into the right sizes for your table. Sand each piece smooth to avoid splinters. Check all pieces fit well before moving on.
Building The Frame
Use the cut wood pieces to make a rectangular frame. Join the corners tightly using wood screws or nails. Make sure the frame is square and level. This will hold the table steady.
Attaching The Tabletop
Place the tabletop wood on the frame carefully. Align it so the edges match perfectly. Fix the tabletop by screwing it down firmly. Double-check it does not move or wobble.
Adding Support And Legs
Attach strong legs to each corner of the frame. Use screws and brackets for extra strength. Add cross supports between the legs for stability. Test the table to ensure it holds weight well.
Finishing Touches
The finishing touches make your dog grooming table safe and durable. These steps protect the wood and prepare the table for grooming tasks. A smooth surface prevents splinters and makes cleaning easier. Adding a protective coat extends the table’s life.
Sanding And Smoothing Surfaces
Start by sanding all wooden parts with medium-grit sandpaper. Focus on corners and edges. This removes rough spots and splinters. Follow with fine-grit sandpaper for a smooth finish. Wipe away dust with a damp cloth. A smooth surface helps your dog stay comfortable.
Applying Protective Coating
Choose a water-resistant, non-toxic sealant or varnish. Use a brush to apply thin, even coats. Let each coat dry completely before applying the next. This protects the wood from water and scratches. It also makes cleaning easier after grooming sessions.
Installing Grooming Arm And Restraints
Attach the grooming arm securely to the table frame. Use screws and brackets for stability. Add adjustable restraints to keep your dog safe during grooming. Ensure they are comfortable and not too tight. These tools help control your dog gently and safely.
Maintenance Tips
Keeping your dog grooming table in good shape is important for safety and hygiene. Regular care helps the table last longer and stay strong. Simple maintenance steps make grooming easier and cleaner for both you and your dog.
Cleaning Your Grooming Table
Clean the table after every use. Remove hair, dirt, and any grooming products. Use a mild soap and warm water to wipe the surface. Avoid harsh chemicals that can damage the table. Dry the table well to prevent rust or mold. A clean table protects your dog’s health and keeps your workspace tidy.
Checking For Wear And Tear
Look closely at all parts of the table. Check for loose screws, broken legs, or cracks. Tighten bolts and screws regularly. Replace worn-out parts immediately to avoid accidents. Inspect the surface for scratches or damage that could hurt your dog. Keeping the table safe makes grooming more comfortable for your pet.
Storage And Mobility Options
Store your grooming table in a dry place. Avoid areas with high humidity to prevent rust. Choose a spot that is easy to access for quick setup. Use wheels or folding features if your table has them. This helps move the table easily and saves space. Proper storage keeps the table ready for every grooming session.

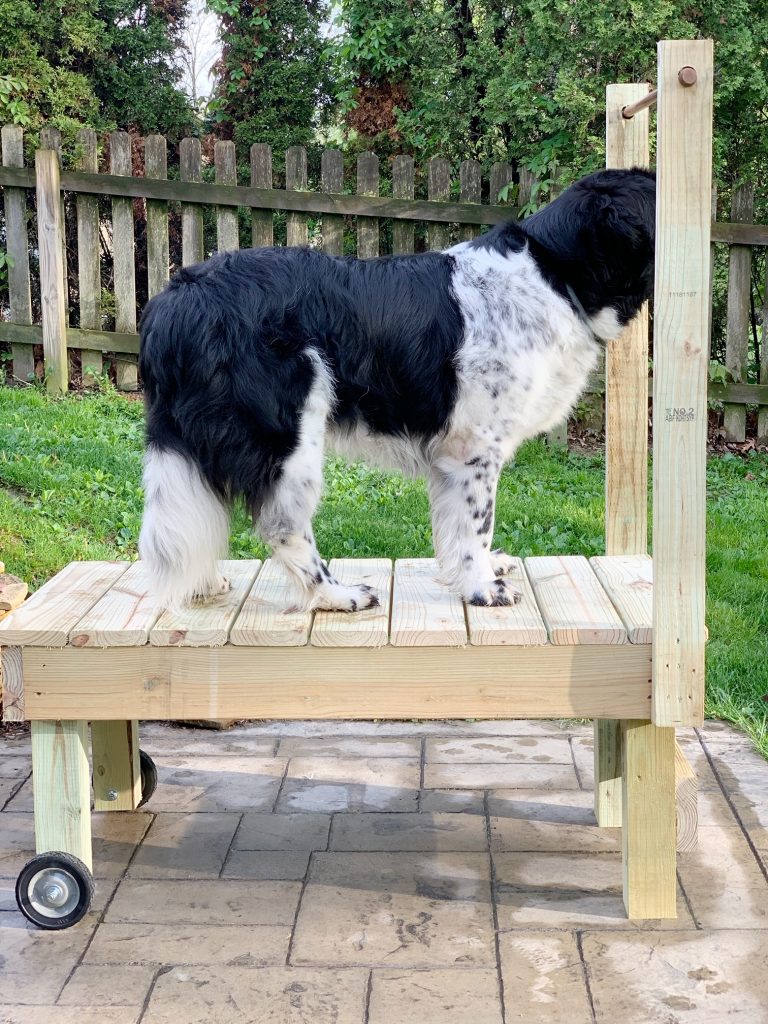
Credit: www.reddit.com
Frequently Asked Questions
What Materials Are Best For A Dog Grooming Table?
The best materials are durable, water-resistant, and easy to clean. Plywood or MDF for the tabletop, stainless steel for legs, and non-slip rubber mats ensure safety and longevity. These materials provide stability and comfort during grooming sessions.
How High Should A Dog Grooming Table Be?
A dog grooming table should be around 30 to 36 inches high. This height prevents back strain and allows comfortable grooming. Adjustable tables are ideal for different dog sizes and groomer heights, enhancing convenience and ergonomics.
What Tools Are Essential For Building A Grooming Table?
Essential tools include a saw, drill, screws, measuring tape, and sandpaper. You’ll also need clamps and a screwdriver. These tools help cut, assemble, and finish the table for a sturdy, professional build.
How Do You Make A Grooming Table Non-slip?
Use a rubber mat or non-slip coating on the tabletop surface. This prevents dogs from slipping during grooming. Secure the mat firmly to avoid movement and increase safety for both the pet and groomer.
Conclusion
Building a dog grooming table takes some effort but is worth it. You save money by making it yourself. Choose strong materials for safety and durability. Keep the table at a good height for comfort. Add non-slip surfaces to protect your pet.
With patience, you create a useful grooming spot. Enjoy grooming your dog with ease and care. This simple project helps both you and your furry friend. Start building today and see the difference it makes.