
If you own an LED dog collar, you know how important it is to keep it charged and ready. But do you really know the best way to charge your LED dog collar safely and efficiently?
Charging it the wrong way can shorten its life or leave you in the dark when you need it most. In this guide, you’ll discover simple steps to power up your collar quickly and keep your furry friend visible during nighttime walks.
Keep reading to make sure your dog’s LED collar never runs out of light when it matters most.

Credit: www.amazon.com
Choosing The Right Led Dog Collar
Choosing the right LED dog collar helps keep your pet safe and visible. A good collar fits well and lasts long. It also charges easily and shines bright. Consider your dog’s size, activity, and how you will use the collar. This guide will help you pick the best LED collar for your dog.
Types Of Led Collars
LED dog collars come in many styles. Some have flashing lights, while others glow steady. Some collars use a strip of LED lights around the band. Others have small LED bulbs spaced out. Pick a style that suits your dog’s activity. Flashing lights catch more attention at night. Steady lights give constant visibility. Choose what works best for your walks or playtime.
Battery Options
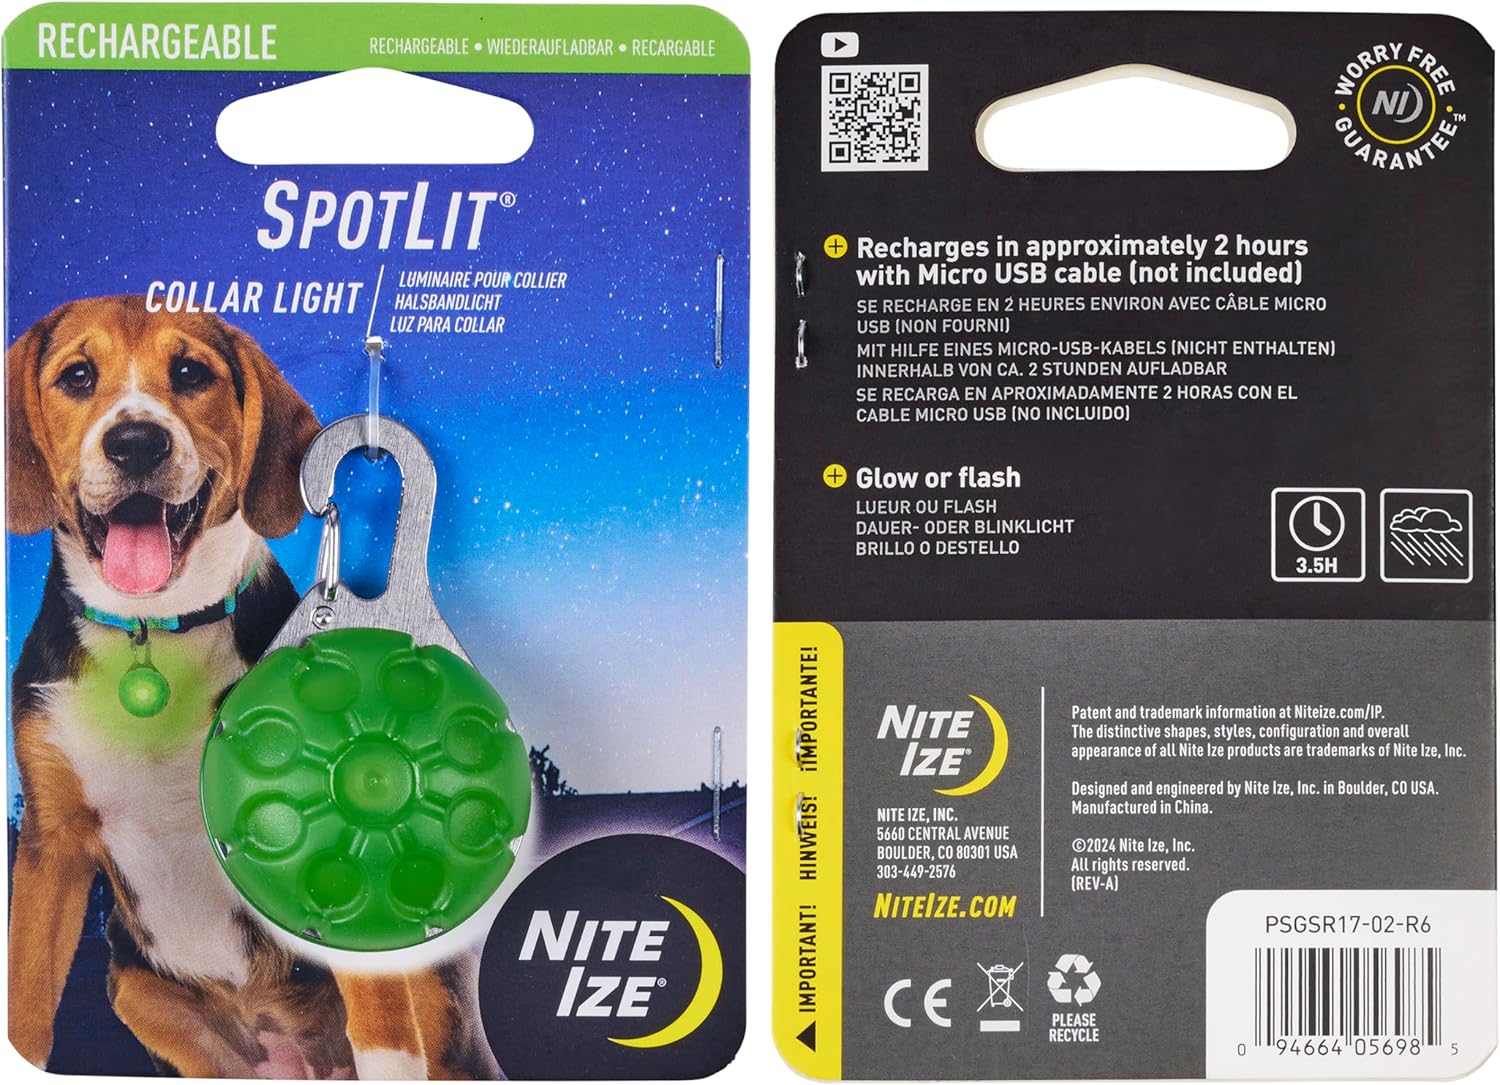
LED collars use different batteries. Some collars have rechargeable batteries. You charge them with a USB cable. Rechargeable collars save money and reduce waste. Other collars use replaceable batteries. These may last longer but need new batteries often. Think about how easy it is to charge or replace batteries. This affects how often you can use the collar.
Size And Fit
Fit is very important for comfort and safety. Measure your dog’s neck before buying a collar. The collar should not be too tight or loose. A loose collar can slip off. A tight collar can hurt or irritate. Choose collars with adjustable straps. This helps get the perfect fit as your dog moves. Also, check the collar weight. Light collars are better for small dogs.

Credit: www.histamineintolerance.org.uk
Preparing To Charge The Collar
Preparing to charge your LED dog collar helps keep it working well. Taking small steps before charging can save time and avoid damage. These steps make sure the collar charges safely and lasts longer.
Checking The Battery Level
Check the battery level first. Most LED collars have a small light or indicator. This shows if the battery is low or full. Charge the collar only when the battery is low. This keeps the battery healthy.
Locating The Charging Port
Find the charging port on the collar. It is often hidden under a flap or cover. Look carefully to avoid breaking any parts. Use the right charger made for your collar. Plug the charger gently to prevent damage.
Cleaning The Collar
Clean the collar before charging. Dirt or moisture can stop the collar from charging well. Use a dry cloth to wipe the collar and charging port. Avoid water or harsh cleaners. Keep the collar dry and clean for better charging.
Charging Methods
Charging your LED dog collar is simple with several methods available. Each method suits different needs and convenience levels. Knowing how to charge your collar properly keeps it bright and safe for your dog.
Using Usb Chargers
Most LED dog collars come with a USB charging cable. Connect the cable to a USB port on your computer, power bank, or wall adapter. Charging usually takes one to two hours. Look for a light indicator on the collar to know when it’s fully charged. USB charging is fast and reliable for daily use.
Wireless Charging Options
Some modern LED collars support wireless charging. Place the collar on a compatible charging pad. No cables needed, which reduces wear and tear on the collar. Wireless charging is easy and less messy. Make sure the collar and charger are aligned correctly for best results.
Solar-powered Collars
Solar-powered LED collars charge using sunlight. They have small solar panels on the collar. Leave the collar in direct sunlight for several hours to charge. Solar collars are eco-friendly and great for outdoor use. They may not charge well indoors or on cloudy days.
Step-by-step Charging Process
Charging your LED dog collar is simple. Following the right steps ensures it works well and lasts longer. This guide breaks down the charging process into easy parts. You will learn how to connect the charger, the best charging times, and how to know when it is fully charged.
Connecting The Charger
Find the charging port on the LED collar. It is usually near the battery or inside a small flap. Plug the charger securely into the port. Make sure the connection is tight to avoid interruptions. Then, connect the charger to a power source like a USB adapter or computer. The collar should start charging immediately.
Charging Time Recommendations
Charge your LED dog collar for about 2 to 3 hours. This time is enough for most collars to reach a full charge. Avoid overcharging, as it can reduce battery life. Charging too little can cause the collar to turn off quickly. Check your collar’s manual for exact time if available.
Indicators Of Full Charge
Most LED collars have lights to show charging status. A red light means charging is in progress. A green or blue light usually means the collar is fully charged. Some collars may turn off the light when done. If unsure, test the collar by turning it on after charging.
Maintaining Battery Health
Maintaining the battery health of your LED dog collar is essential for lasting performance. Proper care helps the battery hold charge longer and prevents damage. Small steps during charging and storage make a big difference.
Avoiding Overcharging
Overcharging can reduce your collar’s battery life. Unplug the charger once the battery is full. Use the original charger or one with the right voltage. Avoid charging overnight to keep the battery safe and healthy.
Storage Tips For Long-term Use
Store the collar in a cool, dry place when not in use. Keep the battery charged at around 50% before storing for a long time. Remove the collar from extreme heat or cold to avoid battery damage. Check and recharge the battery every few months during storage.
Replacing Batteries Safely
Replace batteries only with the recommended type for your collar. Turn off the collar before removing the old battery. Handle batteries carefully to avoid damage or leaks. Dispose of old batteries properly at recycling centers. Never mix old and new batteries together.
Troubleshooting Charging Issues
Charging an LED dog collar should be simple. Sometimes, problems occur. These issues can stop the collar from lighting up or charging properly. This section helps you find and fix common charging problems quickly. It also guides you on when to get expert help.
Common Problems
The collar does not charge at all. The charging light stays off. The collar turns off soon after charging. The charger cable feels loose or damaged. Dirt or debris blocks the charging port. The USB charger does not fit well. The collar takes too long to charge.
Fixes And Solutions
Check the charger cable for damage. Clean the charging port gently with a dry cloth. Make sure the USB charger fits tightly. Try a different power source or USB port. Restart the charging process from the start. Leave the collar to charge for the full time. Avoid overcharging by unplugging after done.
When To Contact Support
If the collar still won’t charge after trying fixes, get help. The battery might be faulty. The charging port could be broken inside. The LED lights may have a wiring problem. Contact the seller or manufacturer. Provide details about your problem and what you tried. They can offer repair or replacement options.
Safety Tips For Using Led Dog Collars
LED dog collars keep your pet visible in low light and dark areas. Using them safely is very important. Follow these safety tips to protect your dog and make the collar work well.
Ensuring Proper Fit
Check the collar size before putting it on your dog. It should fit snugly but not too tight. You need to fit two fingers between the collar and your dog’s neck. A collar that is too loose may fall off. One that is too tight can cause discomfort or breathing issues.
Avoiding Skin Irritation
Use collars made of soft, breathable materials. Remove the collar regularly to let your dog’s skin breathe. Look for redness, swelling, or hair loss around the collar area. Clean the collar and your dog’s neck often to prevent dirt buildup. Replace the collar if it causes any irritation or damage to the skin.
Supervising Your Dog
Watch your dog while wearing the LED collar. Do not leave your pet unattended for long periods. Check the collar’s battery and light function daily. Remove the collar during sleep or playtime to avoid accidents. Supervision helps prevent injuries or collar damage.
Credit: www.odbproject.org
Frequently Asked Questions
How Do I Charge An Led Dog Collar?
To charge an LED dog collar, connect it to a USB charger using the provided cable. Charge for 2-3 hours until fully powered. Avoid overcharging to maintain battery health.
How Long Does An Led Dog Collar Last Per Charge?
Most LED dog collars last between 6 to 12 hours on a full charge. Usage time depends on brightness settings and blinking modes used.
Can I Use Any Charger For My Led Dog Collar?
Use the charger recommended by the manufacturer, usually a standard USB charger. Avoid high-voltage chargers to prevent battery damage or safety hazards.
How To Know When My Led Dog Collar Is Fully Charged?
Most collars have an indicator light that turns green or off when fully charged. Check the user manual for specific charging indicators.
Conclusion
Charging your LED dog collar is simple and quick. Just connect the charger to a power source and attach it to the collar’s charging port. Watch for the light indicator to know when it’s fully charged. Regular charging keeps the collar bright and safe for your pet during walks.
Always use the original charger to avoid damage. With these easy steps, your dog stays visible and protected at night. Safe walks start with a well-charged LED collar.