
If you want to give your dog a cozy, comfortable place to rest that’s off the cold floor, a raised dog bed made out of wood is the perfect solution. Not only does it keep your furry friend cool and dry, but it also looks great in any space.
Imagine building a sturdy, stylish bed yourself—with just a few tools and some simple steps. In this guide, you’ll discover exactly how to create a raised wooden dog bed that your pet will love. Ready to make your dog’s comfort a priority?
Let’s get started!
Choosing The Right Wood
Choosing the right wood is key to building a strong raised dog bed. The wood must last long and be safe for pets. It also should fit your budget. Picking the best wood ensures the bed stays sturdy and cozy for your dog.
Types Of Wood For Durability
Hardwoods like oak and maple are very durable. They resist scratches and damage well. Cedar and redwood also last long and resist rot. Softwoods like pine are less durable but easier to work with. Choose wood that can handle weight and wear.
Wood Safety For Pets
Some woods can harm pets if they chew on them. Avoid woods treated with chemicals or paints. Untreated, natural wood is safer. Smooth the wood to remove splinters. This keeps your dog safe and comfortable.
Budget-friendly Options
Pine is a good low-cost wood. It is easy to find and shape. Plywood can work but choose thick, good-quality sheets. Check local lumber yards for deals. You can build a nice dog bed without spending too much.
Essential Tools And Materials
Building a raised dog bed from wood needs the right tools and materials. These help you create a sturdy and comfortable bed for your pet. Having everything ready makes the project smooth and enjoyable.
Basic Carpentry Tools Needed
Start with a saw to cut wood pieces to size. A drill is essential for making holes and driving screws. Sandpaper or a sander smooths rough edges. A tape measure helps you get exact lengths. Clamps hold wood in place while you work. A pencil marks cutting lines and drill spots.
Hardware And Fasteners
Use screws to join wood parts firmly. Choose rust-resistant screws for durability. Wood glue adds extra strength to joints. Corner brackets can support the frame. Rubber feet under legs protect floors and keep the bed stable.
Comfort Materials For Bedding
Pick a soft cushion or foam for your dog’s comfort. Cover it with washable fabric for easy cleaning. Waterproof liners protect the bed from spills. Choose materials that are safe and gentle for pets.
Designing Your Raised Dog Bed
Designing your raised dog bed is the first step in creating a comfy spot for your pet. It helps you build a bed that fits your dog’s needs perfectly. Taking time to plan will save effort later. Consider size, style, and comfort for the best results.
Measuring For Size
Start by measuring your dog while resting. Measure from nose to tail and from paws to the top of the head. Add a few inches to these measurements for extra space. This ensures your dog can stretch out comfortably. A bed too small feels cramped and unhappy.
Selecting A Style
Choose a style that matches your home and your dog’s habits. Some beds have legs to keep dogs off the floor. Others have side rails for a cozy feeling. Think about your dog’s size and sleeping position. Pick a design that feels safe and inviting for them.
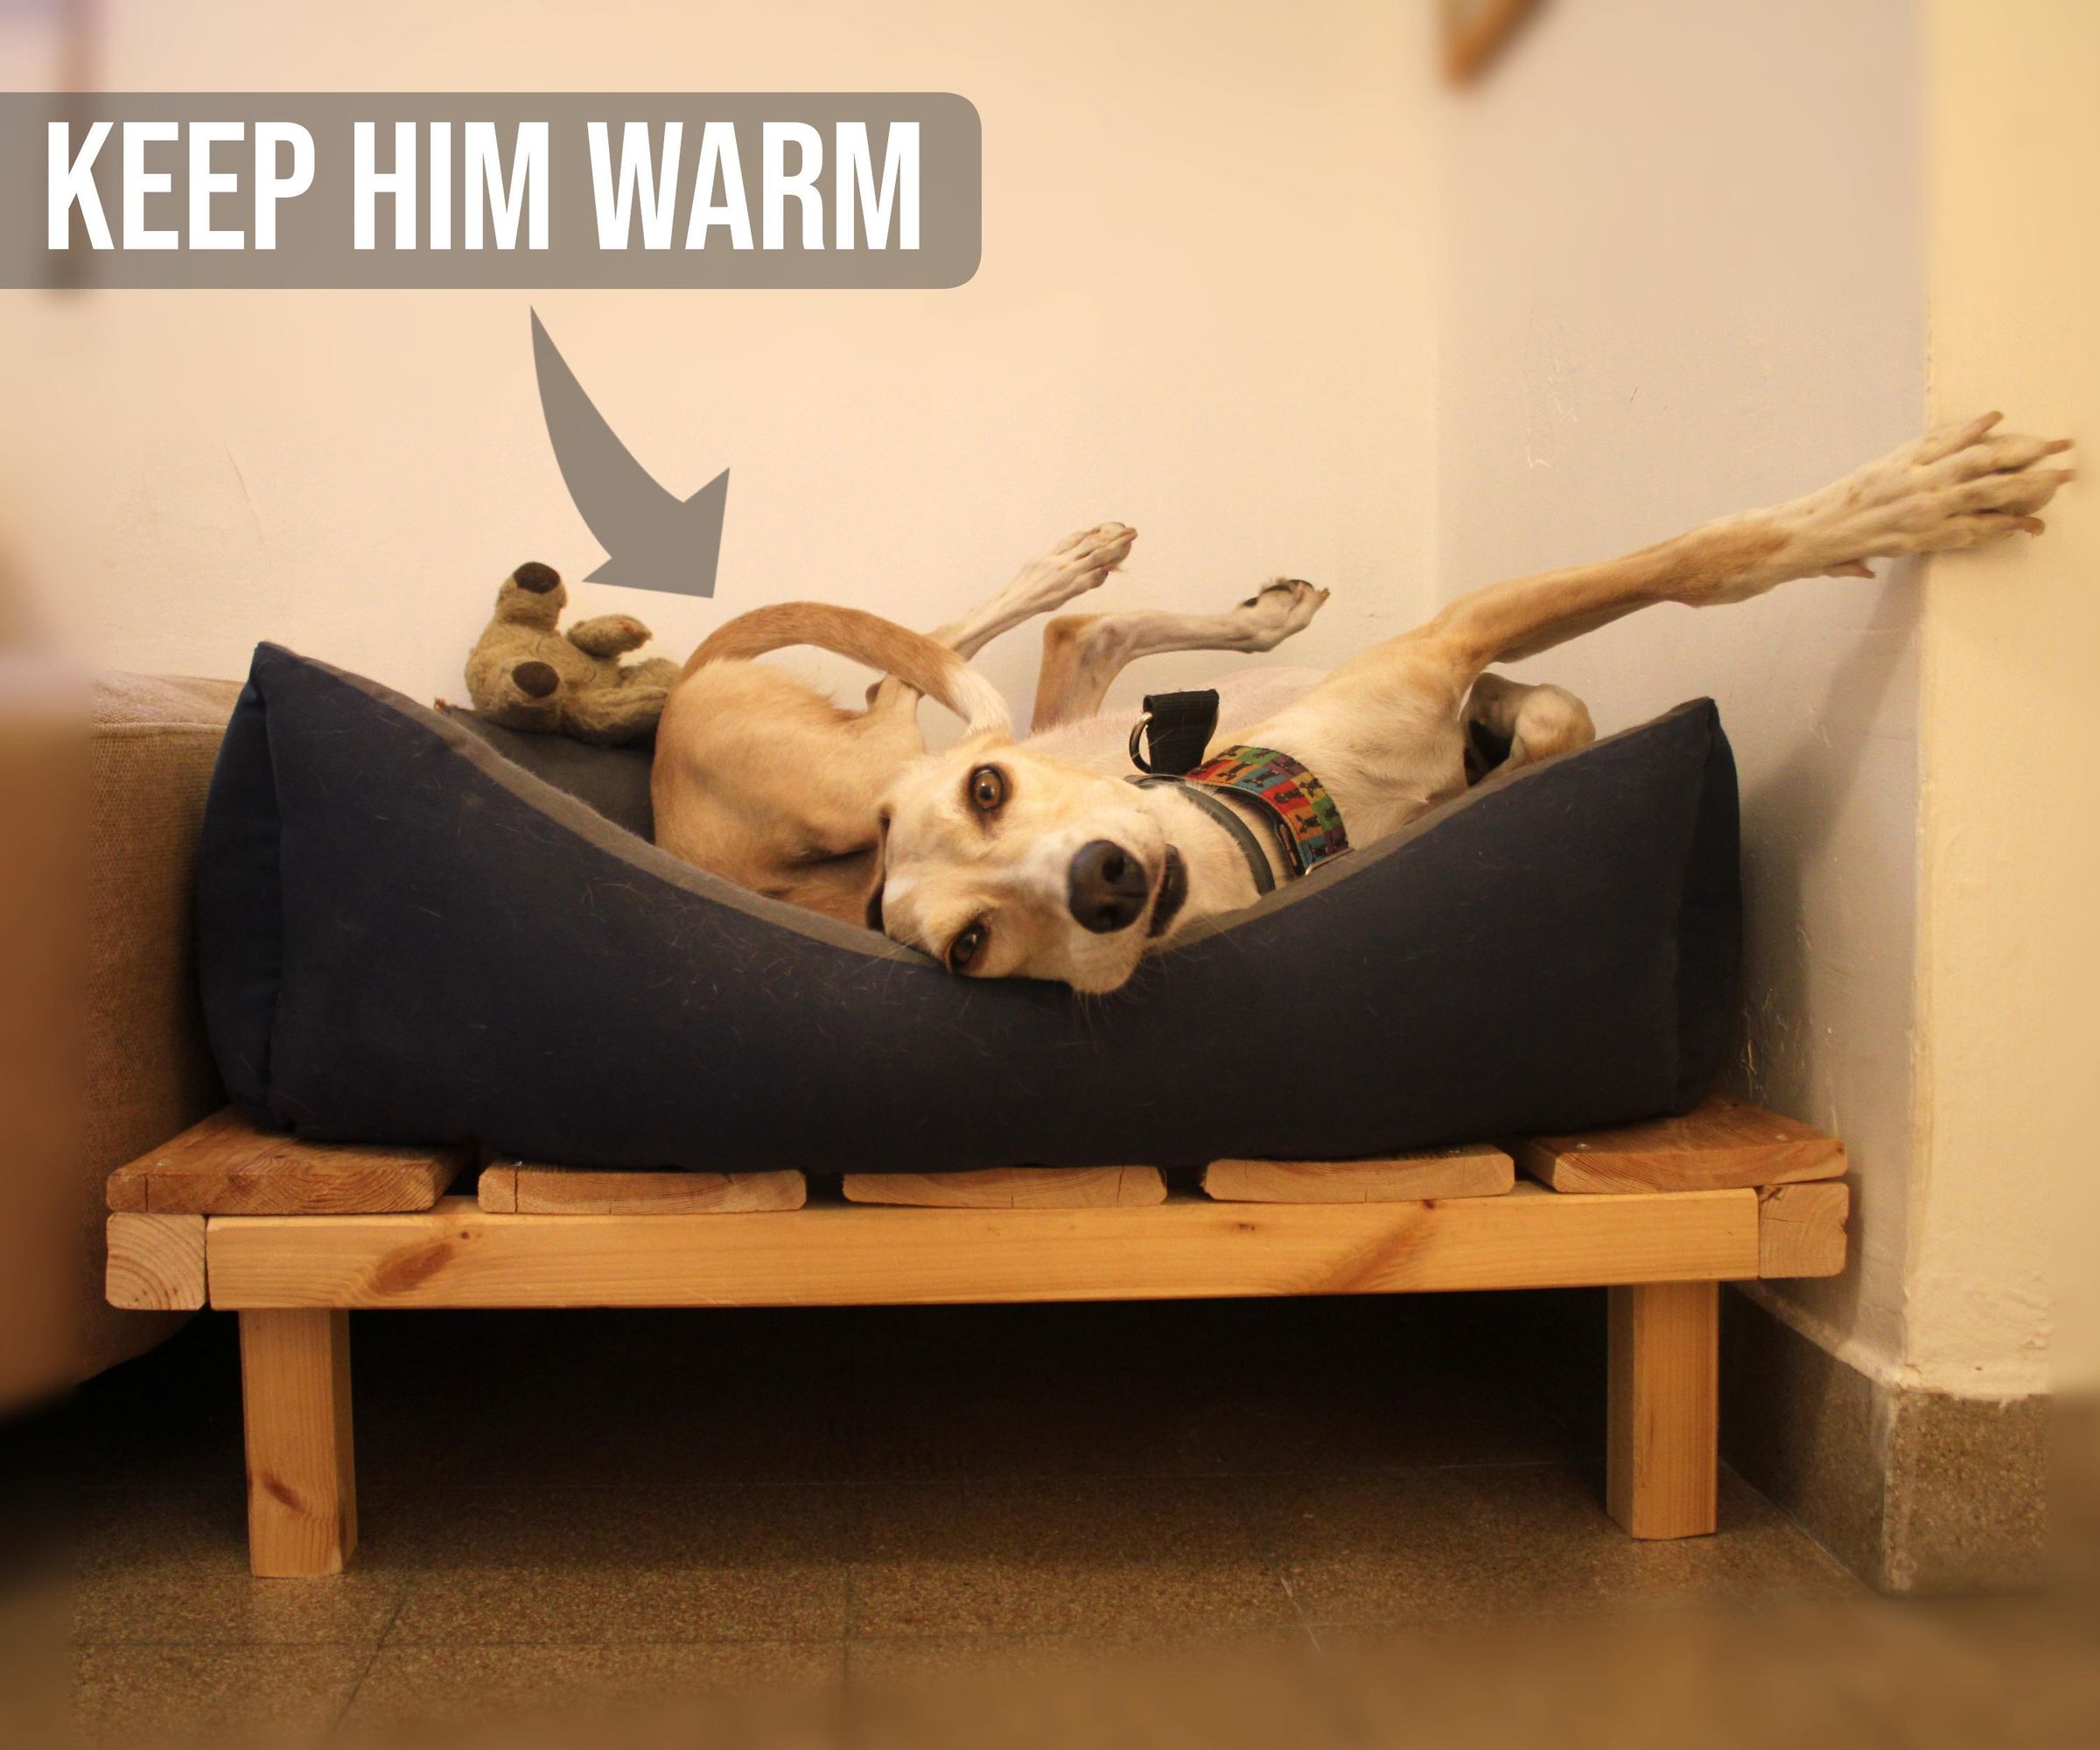
Planning For Ventilation And Comfort
Good airflow keeps your dog cool and healthy. Include slats or a mesh base for air to flow underneath. This helps prevent moisture build-up. Use soft, washable cushions or blankets for extra comfort. A well-ventilated bed stops odors and keeps your dog happy.
Credit: www.instructables.com
Cutting And Preparing The Wood
Cutting and preparing the wood is the first important step in making a raised dog bed. You need to work carefully to get the right size pieces. Proper preparation helps the bed look good and last long. Take your time measuring and cutting the wood. Safety is also very important during this step.
Measuring And Marking Cuts
Start by measuring the wood pieces you need. Use a tape measure and write down each length. Mark the cutting lines clearly with a pencil. Double-check your measurements before cutting. Accurate marks make the cutting process easier. Remember, small mistakes can cause big problems later.
Safe Cutting Techniques
Always wear safety goggles and gloves when cutting wood. Use a saw that fits your skill level. Steady your wood on a flat surface before cutting. Cut slowly along the marked lines. Keep your hands away from the blade. Take breaks if you feel tired to avoid accidents.
Sanding And Smoothing Edges
After cutting, the wood edges may be rough. Use sandpaper or a sanding block to smooth them. Sand all the edges and corners carefully. This prevents splinters that could hurt your dog. Smooth surfaces also help the paint or finish stick better. Finish sanding when the wood feels soft to touch.
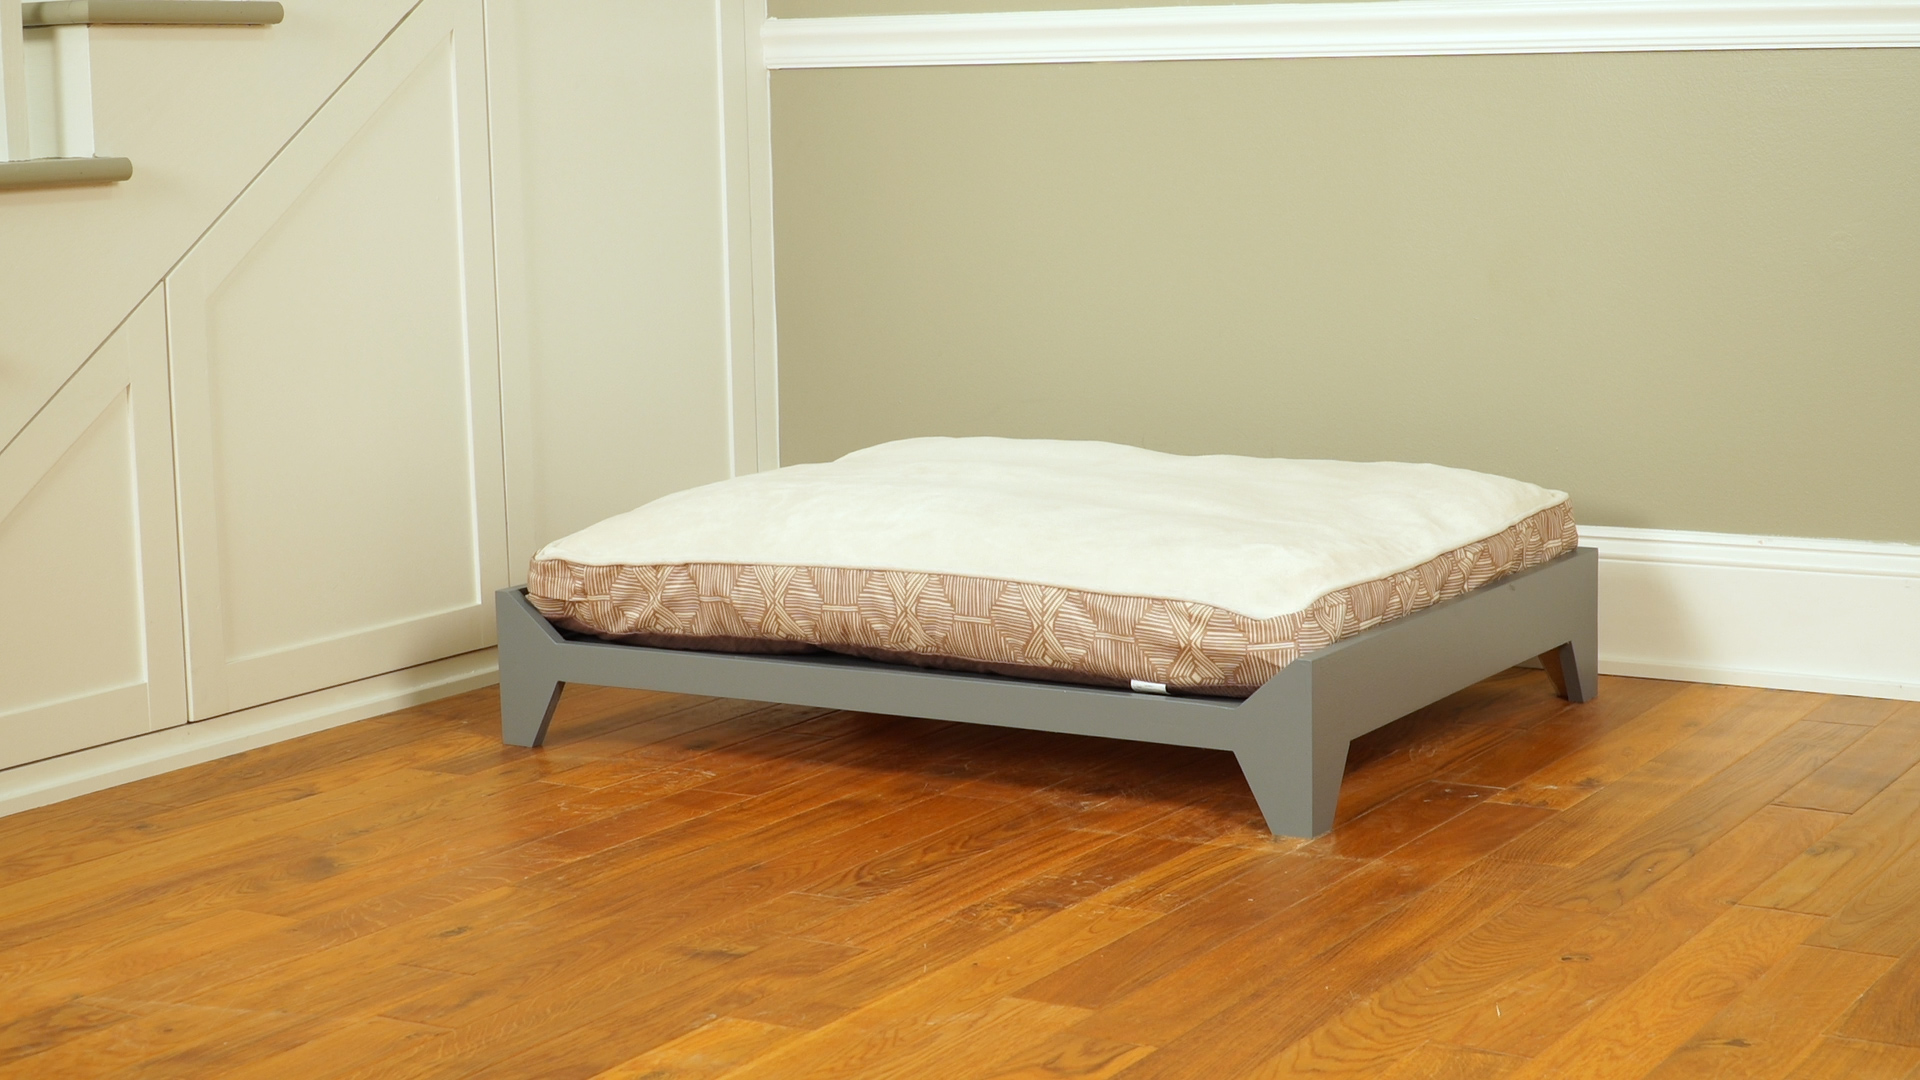
Assembling The Bed Frame
Assembling the bed frame is the key step in making your raised dog bed sturdy and durable. This part involves putting together the base, adding the legs, and securing the support slats. Each step ensures the bed can hold your dog comfortably and safely. Follow these simple instructions to build a strong frame that lasts.
Building The Base
Start by cutting the wooden boards to size for the base. Arrange them in a rectangle or square shape, depending on your dog’s size. Use screws to join the boards at the corners. Make sure the frame is even and tight. A solid base keeps the bed stable and balanced.
Attaching Legs
Next, attach the legs to the base’s corners. Use sturdy wood pieces or pre-made legs. Screw them firmly into the base frame. The legs should be the same height to keep the bed level. Raised legs help keep your dog off the cold floor and improve airflow.
Securing Support Slats
Finally, place support slats across the base frame. Space them evenly to hold the mattress or cushion securely. Screw each slat to the frame for extra strength. These slats stop the bed from sagging and provide a comfortable surface for your dog.
Credit: thebluffsnc.com
Finishing Touches
Finishing touches make your raised dog bed both beautiful and safe. These final steps protect the wood and provide comfort for your pet. They also help keep the bed clean and lasting longer. Focus on using pet-safe materials and adding cozy bedding. Proper care ensures your dog enjoys the bed daily.
Applying Pet-safe Paint Or Stain
Choose paint or stain that is safe for pets. Look for products labeled non-toxic and low in chemicals. Apply a thin, even coat to all wooden surfaces. Let it dry completely before adding cushions. This protects the wood from moisture and damage. It also gives the bed a nice, finished look.
Adding Cushions Or Mattresses
Select cushions that fit the bed size well. Choose soft, washable materials for easy cleaning. Foam or memory foam works best for support. Place the cushion inside the bed frame carefully. Your dog will enjoy a warm and comfy place to rest. Change or wash cushions regularly for freshness.
Tips For Maintenance And Cleaning
Clean the bed weekly to keep it fresh. Wipe the wooden frame with a damp cloth. Avoid harsh chemicals that can harm your pet. Wash cushions or covers following label instructions. Check the bed for loose parts often. Tighten screws and fix any damage quickly. This keeps the bed safe and sturdy.
Troubleshooting Common Issues
Building a raised dog bed from wood is a fun project. Sometimes, small problems happen during or after making it. These issues can stop your dog bed from being strong and comfy. Fixing these problems early helps keep your dog safe and happy. Below are common problems and easy ways to fix them.
Fixing Wobbly Legs
Wobbly legs make the bed unsafe. Check if the legs are the same length. Use a level tool to see if the bed sits flat. Tighten all screws and bolts. Add corner braces for extra strength. Wooden glue can hold joints better. Make sure the floor is even under the bed.
Preventing Wood Splinters
Splinters hurt your dog’s paws. Sand all wooden surfaces smooth. Use fine-grit sandpaper for a soft finish. Apply a dog-safe sealant or paint. Check the bed regularly for rough spots. Replace any broken or cracked wood parts fast. Keep the bed clean to avoid splinter buildup.
Adjusting Size For Growing Dogs
Dogs grow quickly and need more space. Plan the bed size with extra room. Use removable side panels to expand the bed. Build the frame with adjustable parts. Measure your dog often for a good fit. A bigger bed keeps your dog comfortable and relaxed.

Credit: www.youtube.com
Frequently Asked Questions
What Materials Are Needed To Build A Raised Dog Bed?
You need wood planks, screws, a drill, sandpaper, and wood finish. Choose durable, pet-safe wood like cedar or pine for longevity and safety.
How Do I Choose The Right Size For My Dog Bed?
Measure your dog lying down fully stretched. Add a few inches on each side for comfort and movement space.
Can I Make A Raised Dog Bed Waterproof?
Yes, apply a non-toxic waterproof sealant to protect wood from moisture. This extends bed life and keeps your dog dry.
How High Should A Raised Dog Bed Be?
A height of 6 to 12 inches is ideal. It keeps your dog off cold floors and provides comfort.
Conclusion
Building a raised dog bed from wood is simple and fun. You only need a few tools and materials. This project keeps your dog comfortable and off the ground. You can choose the size and style that fits your space.
Plus, it saves money compared to buying a ready-made bed. Your dog will enjoy a cozy place to rest. Try making one today and see the difference it makes. A little effort brings big comfort for your pet. Easy, practical, and made with love.